The curious case of the pink living room!

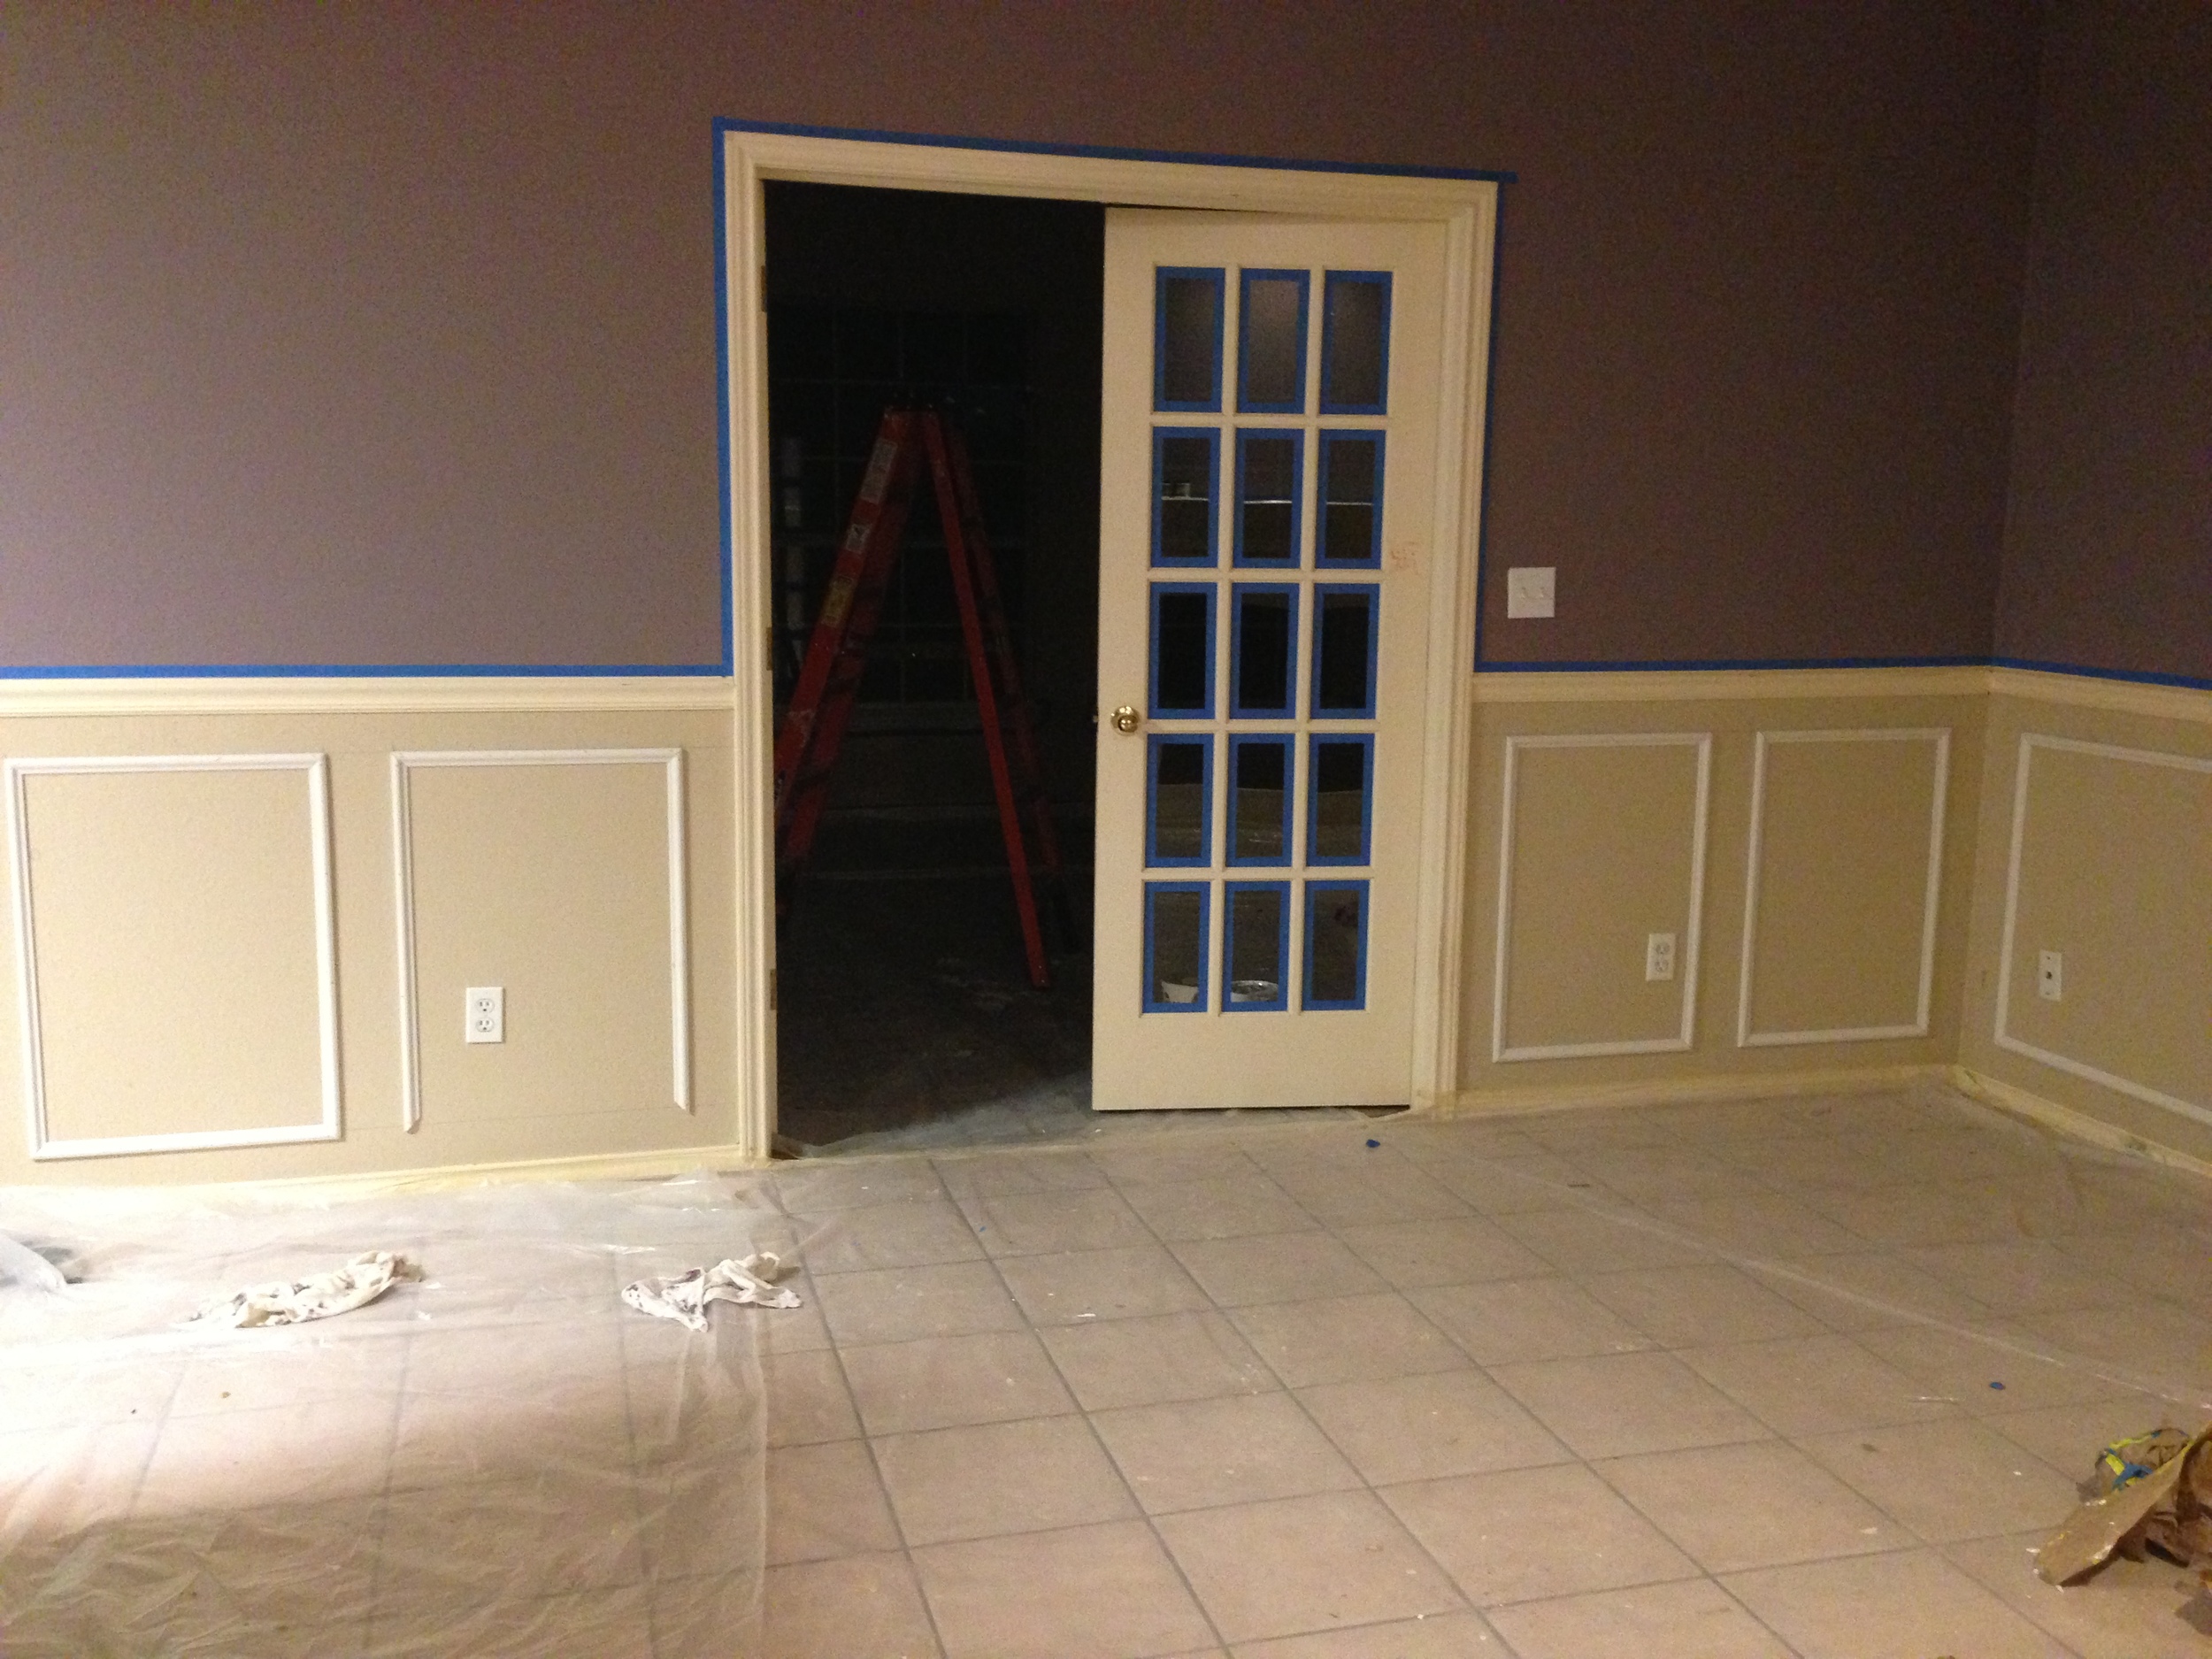
This living room was one of the most awkward rooms in our house. It had pink walls and ceiling and the love for pink didn't stop there- the room had pink carpet; Yes PINK CARPET! It is the first room you see when you enter the house and leaves quite an impact with its lofty 20 feet ceiling. When we first saw the house, the room was very dark and dingy because of the light-blocking curtains and all the pink didn't help either. Here is a picture in which you can see how dark the room was and this is at 11 in the morning and the house faces east.

The weird theme continued throughout the house- orange ceilings, uncountable holes in the wall and so on- that I will be discussing in my other posts, but the structure and the possibilities were there. I could envision making this living room into a grand entrance and much brighter of course, our realtor was not convinced of the latter though. So when we made the decision to buy this house, she kept asking if we were sure, well I am glad we were at the time. We tackled this room after the bedroom, dining room and the family/media room and this space still has areas that I would like to furnish and use. In the meanwhile, here are a few pictures of the work in progress.

The color swatch and measuring the wall for wainscoting.

The color swatch and measuring the wall for wainscoting.

This was after we bought wooden trim and after a lot of patience and applied mathematics- we were able to give shape to the plain wall in form of wainscoting. Please let me know if you would like to see a separate post on just that.

Yes, I like power tools!

Yes, I like power tools!

When I couldn't find 18ft curtains after looking for them for 6 months, I decided to make them. I bought the fabric from Ikea and the project took two days to complete two long sets of curtains. 

After all the updates and furnishing one side of the room.

After all the updates and furnishing one side of the room.

The lights and the yellow accents really make the room pop.

The lights and the yellow accents really make the room pop.

View from the second floor staircase landing.

View from the second floor staircase landing.

Master Bedroom: the one with the orange ceiling

The theme of rainbow colors continues in this master bedroom. The picture below does not do justice to the orange hue I am talking about but it gives you an idea of how weird the room was- from the dirty carpet to those window valances- but nothing can beat the built in maroon headboard in the room. We almost tore the whole wall apart while trying to remove the built in trim and had to patch the holes, which again was quite a learning experience.

The hideous bedroom

The room was huge with really high ceiling, which was a big plus point. This was also our first project in the house, so a lot of experimentation went into remodeling it. We repainted the walls and replaced the orange with a subtle gray and eggplant on the feature wall. We also painted the two pillars in the room with the same accent color and gave the ceiling the white sheen that should have been in the first place. Painting the ceiling was probably the most difficult of all painting jobs- it had a steep slope and took three coats to cover up the orange underneath; by the end of the job, our necks were strained and eyes burning. A few friends helped us get through this ordeal and they were exhausted too.

Trying to get rid of the built in headboard.

Trying to get rid of the built in headboard.

The drywall came out in the process!

The drywall came out in the process!

Here is the wall after we removed the headboard and tried a few swatches of colors.

Here is the wall after we removed the headboard and tried a few swatches of colors.

We also removed the carpet in the bedroom that took all the patience I had and more and replaced it with wooden floors. The task was so grueling and elaborate that it demand a separate blog post, but here is a glimpse of me working on the floors. 

The room already looks a lot brighter with the ugly valances gone.

The room already looks a lot brighter with the ugly valances gone.

And now the after

The white and black provide a good contrast to the eggplant color and complement the gray in the room.

The white and black provide a good contrast to the eggplant color and complement the gray in the room.

I wanted a good picture of us to go on top of the bed but we already have tons of pictures elsewhere in the house. Also, the black and white theme meant that a sketch would go perfectly with the decor and thus I decided to make a sketch. I drew a picture from my graduation and it came out pretty good.

The white really makes the ceiling pop and brightens the room. Pardon the febreeze on the dresser!

The white really makes the ceiling pop and brightens the room. Pardon the febreeze on the dresser!

New wall scones, lamps and chandeliers give this space a nice relaxing ambiance and turn it into an oasis that one would want to come to after a long hectic day at work.

Dingy attic to 'boutique' closet

So this small attic was one of the major reasons that propelled me to go with this dark, pink and orange house read the story here. At the time it was nothing more than a storage room barely 6 ft in height at it's highest point, mossy green in color and smell! I could envision this space, right off the master bedroom as a nice closet (being short helps!), but we didn't start working on it 6 months in. I finally decided to tackle this room a month after we got married and tried to do so in the most economical way!

I wish I had taken pictures of this attic when it was dirty green. Anyways, this is a picture when we had painted the room and stenciled the bottom wall of the ledge.

I wish I had taken pictures of this attic when it was dirty green. Anyways, this is a picture when we had painted the room and stenciled the bottom wall of the ledge.

The hardware that went into converting the room into a closet came from IKEA. The shelves were an easy way for me to just see things- having everything right in front of my eyes made getting ready a lot easier in the morning.

The ledge was a funny space, the previous owners had iron racks stacked up for storage. I didn't know what I could do with that area until I thought of making it into an accessory wall. I now find that wall the star of the quaint space, which is almost a relaxation room for me. I sometimes sit on the ottoman and just stare around! Color coordinating is another useful technique that has helped me cut time in deciding what to wear tremendously. So here you go- a few after pictures and don't miss the 'It's all about me' sign at the door.


Plain Jane dining room to elegant yet casual space

The dining room was one of the first rooms we tackled in the house, to read our story and our decision to purchase this weird house, click here. For a change, this dining space was not so bad but it wasn't good either- it was a plain room with a dull beige color and chair rail. I wanted to turn it into an elegant space that didn't look very formal and could accommodate my bar style tall dining table. Here is a before picture of the dining space.

The white patches are the holes that we have patched up with putty.

The white patches are the holes that we have patched up with putty.

This is after we colored the walls and made the squares for wainscoting.

This is after we colored the walls and made the squares for wainscoting.

Again me with the compressor nail gun and level.

Again me with the compressor nail gun and level.

The next task was to paint the trim- not just in this room but the entire house; Painting the trim and doors, since they were a bad shade of cream, was the most daunting of all the projects we undertook during the renovation.

Here is a picture of the room after we had painted the wainscoting and trim.

The white brightens up the entire space and makes the fireplace look brand new.

The white brightens up the entire space and makes the fireplace look brand new.

The room was still a little plain and I wanted to have a feature wall. We decided to go with stenciling the walls with a nice dull silver color. It was again a very demanding task and took 10 hours to finish one small part of the wall, but the result was totally worth the effort.

Trying to make sure the stencil is straight!

Trying to make sure the stencil is straight!

Here is the end result of all that went into making this dining space. The small hutch to store glassware also has nice lights inside to highlight the crockery.

Here is the end result of all that went into making this dining space. The small hutch to store glassware also has nice lights inside to highlight the crockery.

The silver accessories over the fireplace mantle add a nice touch of elegance.

The silver accessories over the fireplace mantle add a nice touch of elegance.

That chandelier came in a thousand pieces and took me 7 hours to assemble, by the end of which my back and eyes were pleading for me to stop! In the end, it was a very rewarding experience and the dinners will be a bit more elegant.

The 100% DIY guest room

After completing the family, living and dining rooms, the master bedroom and the powder room, we took a break and didn't work at all on anything in the house. Then late last year my in-laws decided to visit us and that was the prompt to start working on getting one guest room ready (the other is still a store room and I don't intend to furnish it any soon!).

By this time we had already become quite experienced with major construction projects and smaller patching ones, so we decided to go the DIY way for everything in the room, including furniture. I don't have a before picture for this room but it was again an ugly shade of brown that we repainted to a very pale shade of blue, almost white, and going with the theme in rest of the house- painted the feature wall gray.

For the furniture, we bought a old dresser and study desk from craigslist and sanded and painted it to a nice shade of turquoise and white.

The Dresser was old, brown and weathered that we primed and painted white and the drawers a nice turquoise blue. We refinished the hardware and painted it white too.

The Dresser was old, brown and weathered that we primed and painted white and the drawers a nice turquoise blue. We refinished the hardware and painted it white too.

The finished product that I used under a mirror, which was already attached to the wall and wouldn't come out.

The finished product that I used under a mirror, which was already attached to the wall and wouldn't come out.

I embellished the shapeless mirror  over the dresser that had paint stains on the edges with some glass tiles that hid those edges and gave the mirror some nice sheen. The tiles also go with the theme of the room. I used the same technique to embellish the plain old mirror in the guest bathroom with square mosaic tiles that I will discuss in my upcoming posts.

For the computer desk, I used the opposite colors for the drawers and the frame. I also bought some wooden crates at the hobby store and painted them with the colors in the room. 

The refurbished study desk and the wall decoration using wooden crates.

The refurbished study desk and the wall decoration using wooden crates.

I used props such as books and plants to to create visual interest and used the yellow fabric that we used for the headboard as backdrop of one those crates. Talking about the headboard, that is a huge project in itself involving plywood, foam, fabric, hot glue, nail gun and a lot of patience!

Those are the squares that make up the headboard, each with a base of  individually cut insulation foam board, normal foam pad and fabric hot glued and nailed together on the ply wood.

Those are the squares that make up the headboard, each with a base of  individually cut insulation foam board, normal foam pad and fabric hot glued and nailed together on the ply wood.

Here is the finished product, which is not perfect but not bad for a first attempt. 

Here is the finished product, which is not perfect but not bad for a first attempt. 

The wall next to the bed looked a little plain and my in-laws were going to arrive the very next day. I had a small canvas at home that I used to paint the calm Buddha on. In the future I would like to create something a little bigger and elaborate for this wall, but it works for the time being.